
Frequently Asked Question
How do I print a grid at its exact scale so that, for example, each square in exactly 1/4" and not slightly off
Precise grids can be really important for some projects, yet printing graph paper with grids that are precise is challenging for many home and office printers. The process of sending a file to a printer and how it processes it for printing can introduce slight distortions that affect grid accuracy.
IF your printer is not printing precisely accurate grids, correcting the distortion may require a bit of perseverance because printed results vary with combination of the printer and software (printer drivers) being used. While some printers can print to the edge of a page, most do not. Some printer drivers (software) compensate for the un-printable page margins and adjust (scale) what is being printed so that everything fits on the page. Unfortunately, it can take a bit of trial and error to correct the problems introduced by the printers and drivers that use scaling. For many tasks, a slight shrink in what is being printed does not matter. However, if you need precise sizing (for example, to print graph paper), it matters a lot!
There is no single, quick fix. Below are three suggested approaches which should help you find a way to control printer scaling.
option 1
Print PDF from a Mac or PC computer
It's not surprising to have trouble printing at the correct size directly from a phone or tablet. Printing from an iPhone or iPad is often “simplified” so that you don't have all the options and controls available when printing from a Mac or PC computer.
Therefore, the first thing to try is to email (or AirDrop) the PDF to your computer.
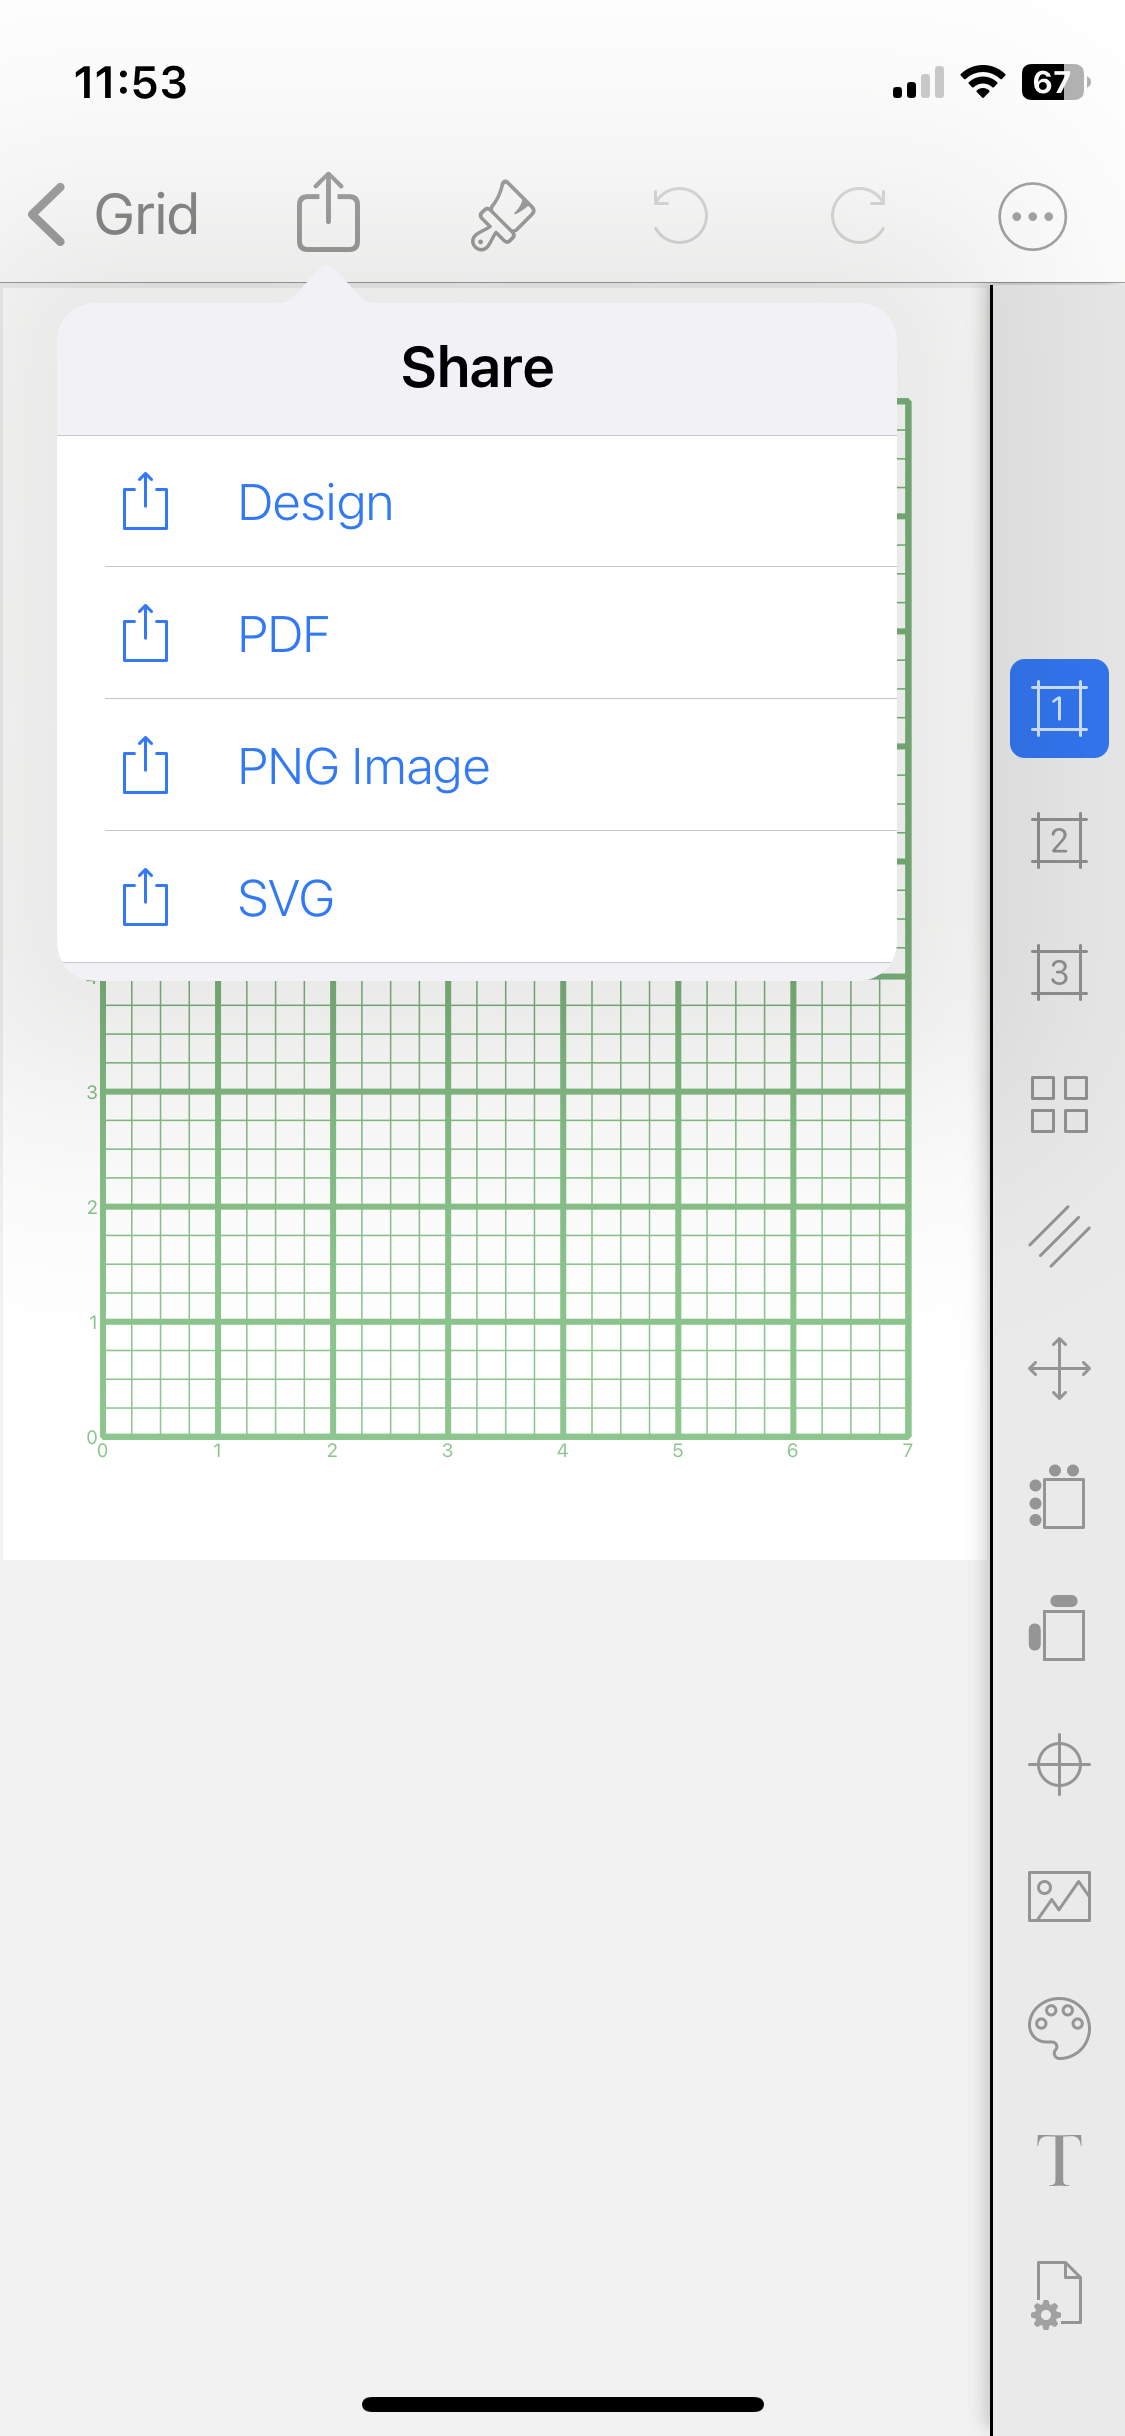
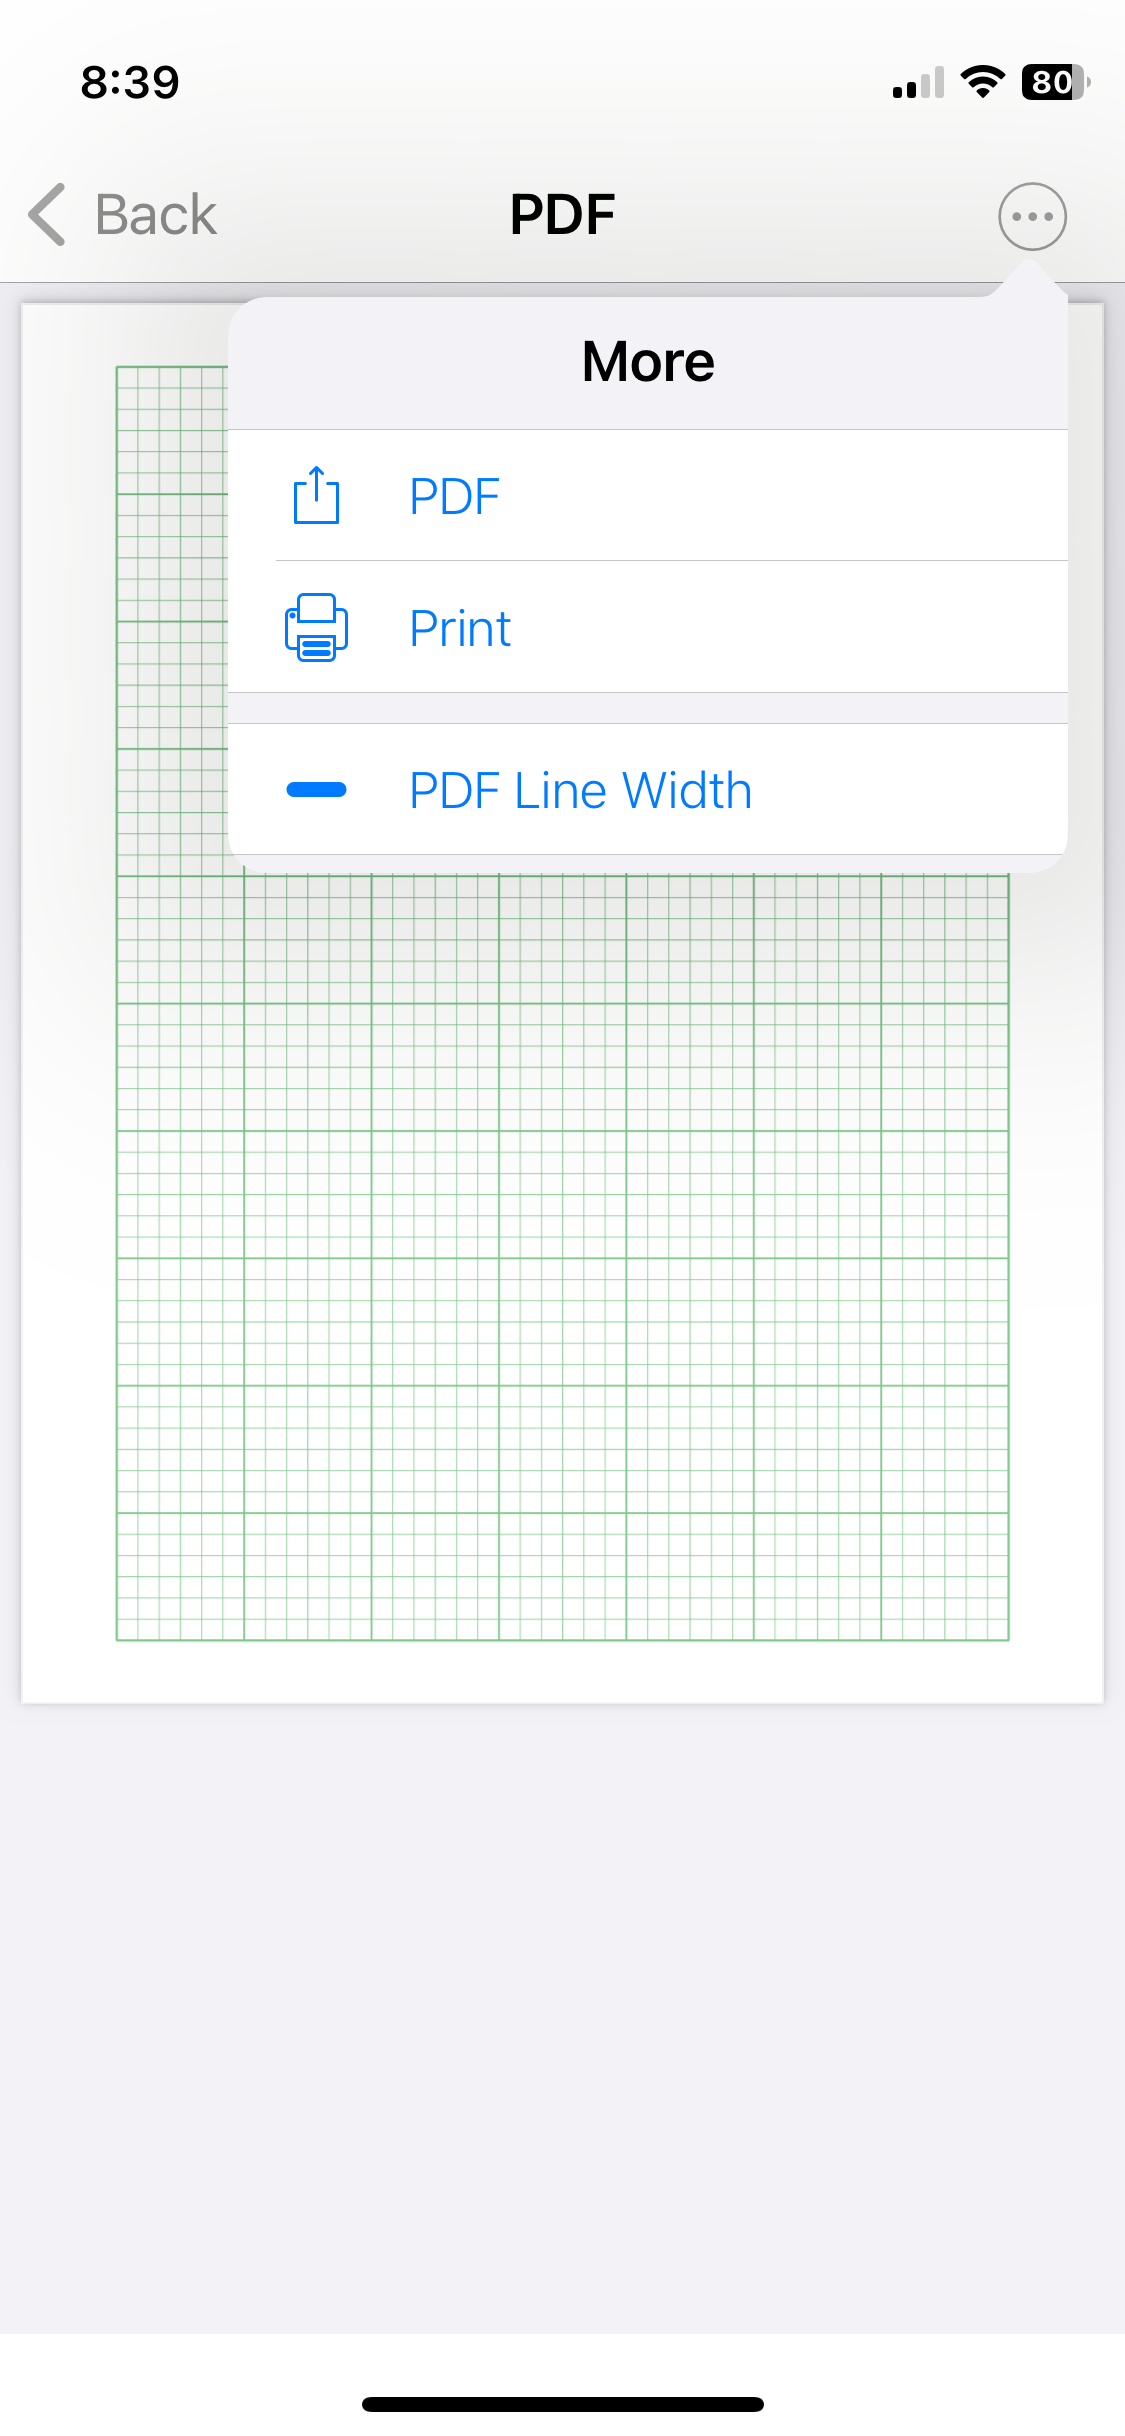
Choose Share from the top menu and pick PDF. Then, on the PDF page choose More, then Share PDF.
Once the graph paper is uploaded, adjust the settings to turn off scaling and print the file from your computer. For example, on a Mac confirm that “Scale to Fit” is NOT checked, and the scale is set to 100%.
Another advantage of sending the PDF to a computer for printing is that one can use the computer’s print scaling to print at a different scale. For example, if you wanted to print half size, use the print controls on the computer to print at a 50% scale.
option 2
Print PDF from an iPhone or iPad
There are three modes for printing available.
Trial and careful grid measurement will likely be needed to find which of these will work with your printer and print drivers such that you will be able to print graph papers at an exact scale.
Print PDF option —
The “Print” option has two modes, General and Photo. Both options, General and Photo, communicate with your printer to find the proper size of paper. If you are using a “non-standard” size paper, one of these options may work successfully.
General
The printer/driver may try to "shrink" printing to fit within paper printing margins.

Photo
The printer/driver may try to "expand" printer for edge-to-edge paper printing.

Share PDF option —
The “Share” option assumes you are trying to use a “standard” size paper in your printer.

Printing a Custom size paper has its own challenges, the Share-to-Print mode may not be a viable choice.
option 3
Alternative approach to printing at the exact scale
If you can't get exact scale printing of a PDF using one of the app options above, there is one more approach to try. Following the iterative steps below will hopefully get you the proper result.
This example, from a iPhone (or iPad), shows the steps necessary to correct for print scaling problems. Two approaches are explained in detail. One example uses an AirPrint capable printer and other uses the Brother iPrint&Scan app.
To make testing easier, create a PDF with a grid that fill the page — edge-to-edge — for a 1/2” Grid, 5 Divisions per Grid . Expect these settings to print a grid with lines every 0.1”.
Next, set paper size and margin settings:
Set page to US Letter size paper (8.5” x 11”)
Adjust margins to 0” on all sides
To print, open Share in the top menu, tap PDF.
On the PDF page, open More and tap Share PDF.
The PDF is ready to be printed. It is displayed behind the pop-up.
Share brings up two print options:
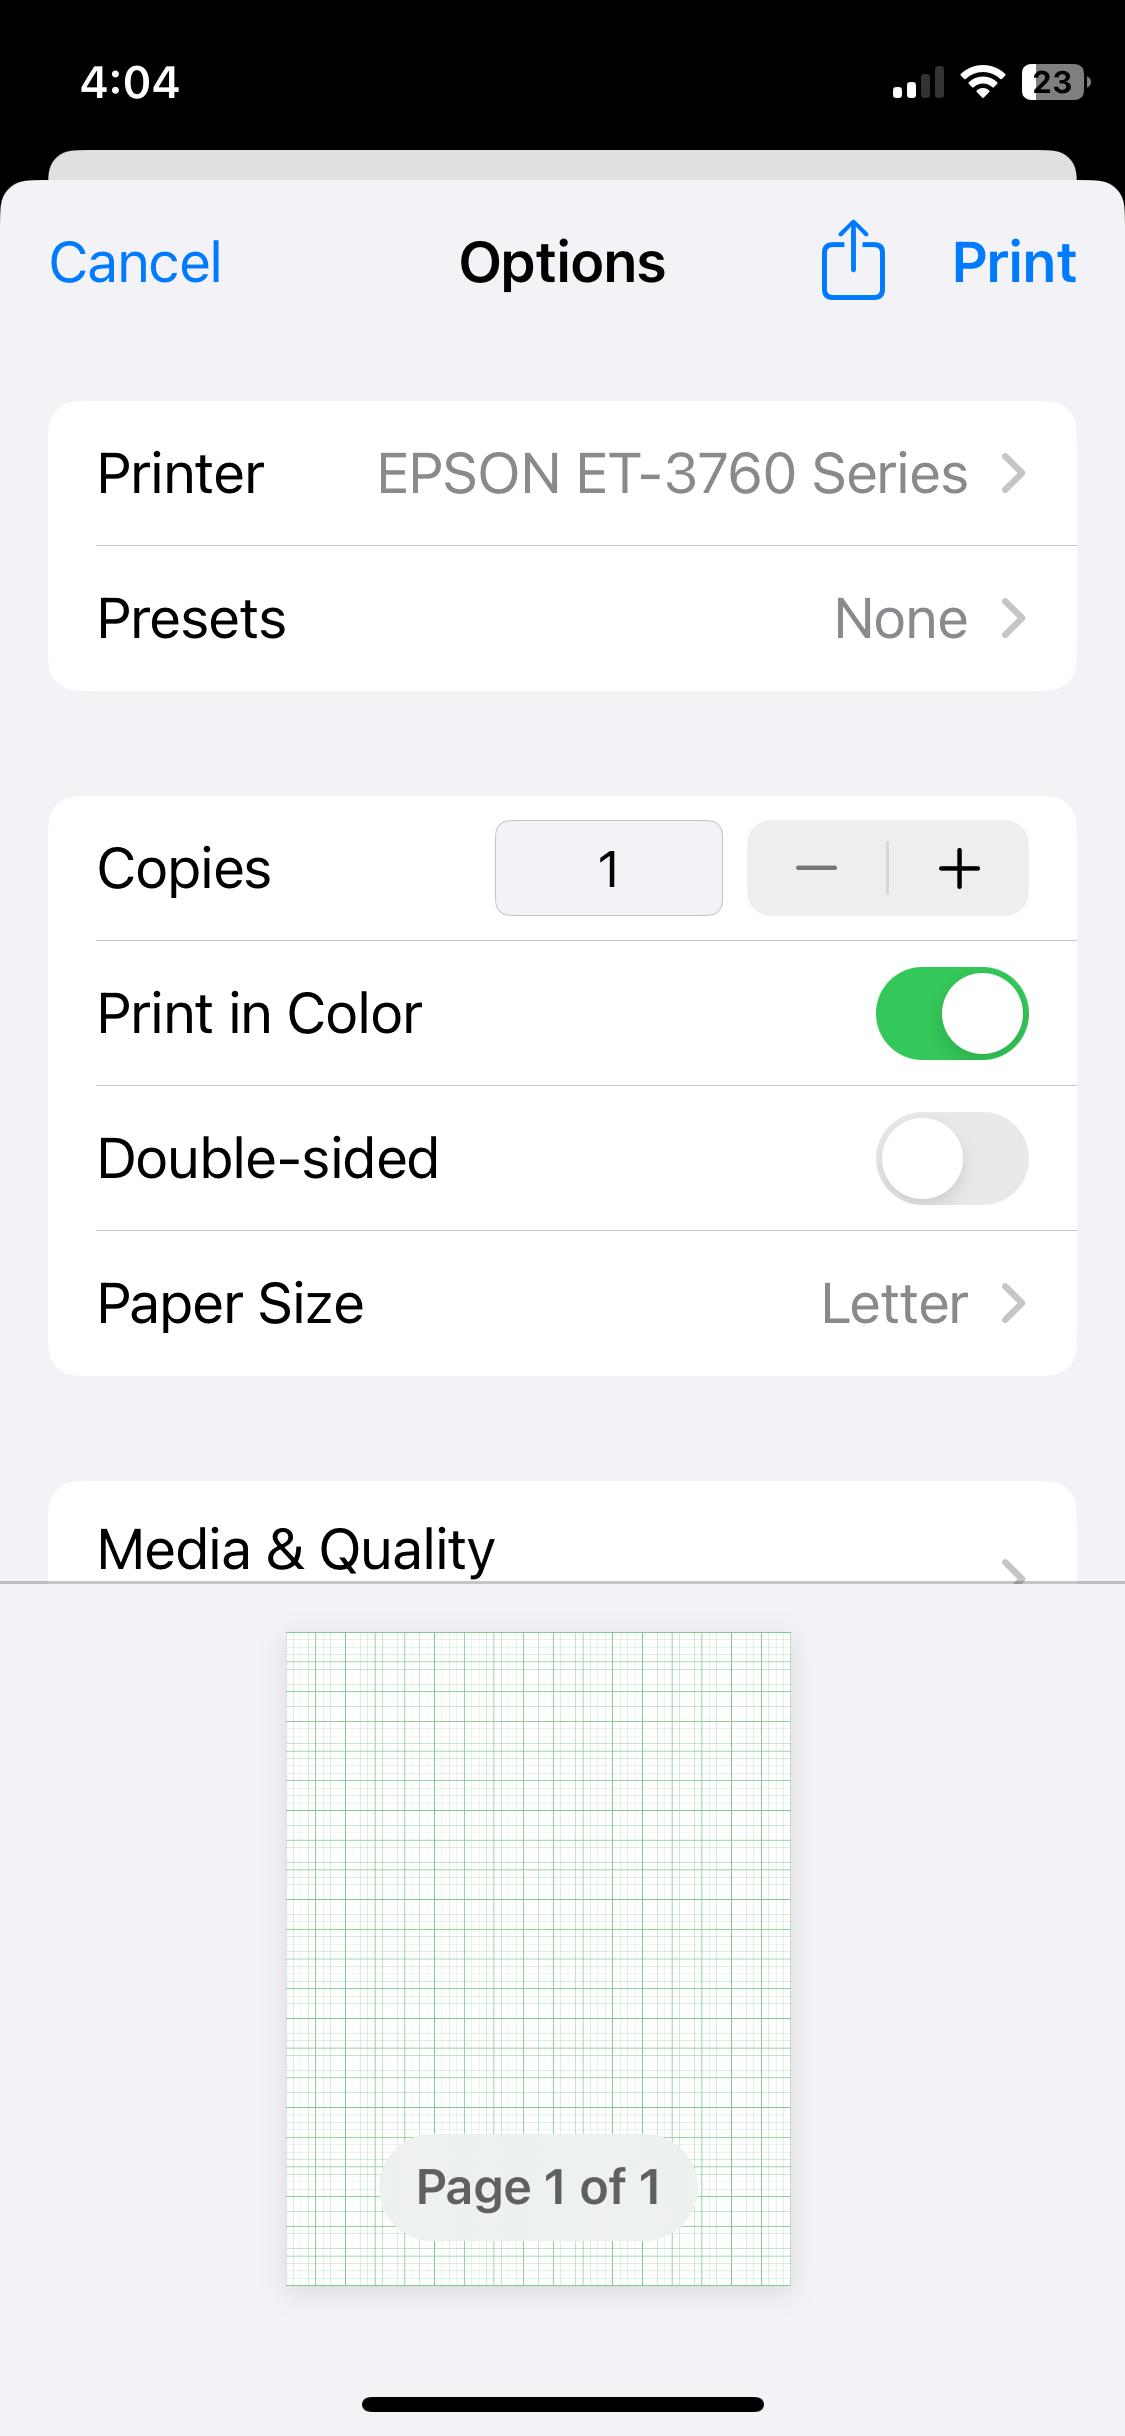
Print — near the bottom of the screen for AirPrint
Brother iPrint&Scan app — in the row of icons (You may need to scroll to find it.)

Print.
Select Print for the AirPrint option, it includes a preview image. Note that because of our 0” test margins the grid runs to the edge of the page.
When the page is printed, the grid is printed at 1x (100%) scale (which is good!). However, because the printer cannot actually print to the edge of the page, it is clear that 0” margins are good only for testing.
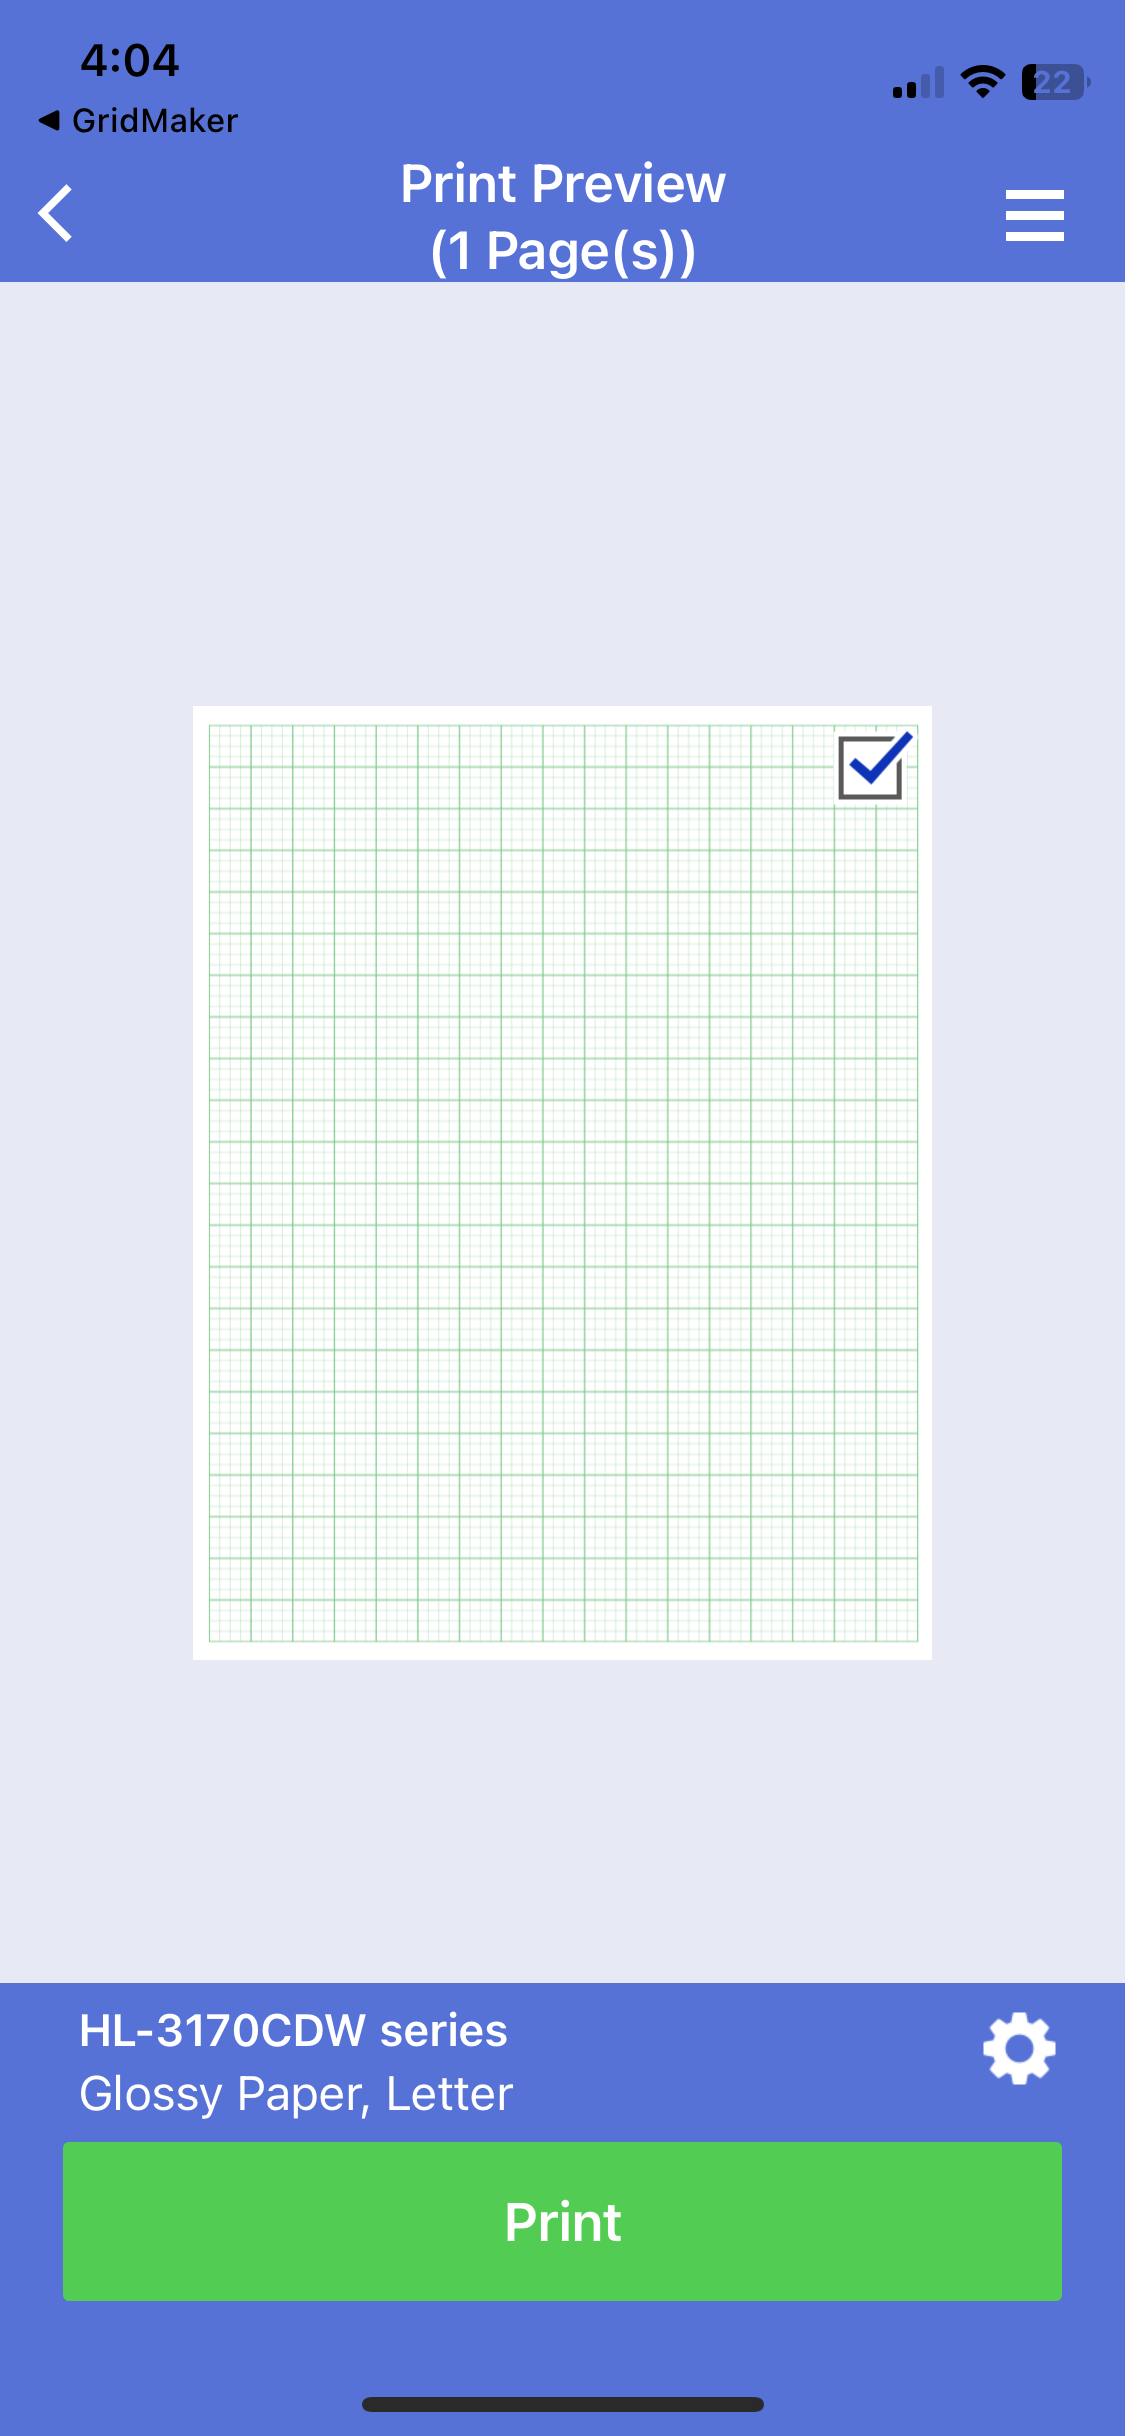
Brother iPrint&Scan.
Select the Brother iPrint&Scan app.
The preview shows the image shrunk to fit within a margin framing the edges because the image has been scaled to fit inside the printer’s margins. While this type of scaling is typically not a problem for text or many other documents, however, it is exactly the distortion we are trying to get around.
Follow these steps to find the proper adjustments to make:
Print the page
Carefully measure the printed area. In this case, the printed area was about 8.14” across by 10.56” down.
Use these dimensions to re-set the page size. (We are assuming the printer driver will act in the same way, adjusting the margins for printing so that the page size will be what we expect.)
Open Page Settings.
Scroll page size to "Custom".
Using the Custom setting, specify the page width and length (in this example 8.14" x 10.56")
Set the margins to 0” (to prevent doubling-up margins.)

By using the custom page size to control the printed area, the overall effective scaling should come out at 1x (100%). Print and measure again. If it is just 'pretty close', repeat the process of fine-tuning/printing/measuring until it is just right. (It's tough to measure accurately to 1/100”!)